Last time, we looked at using external stylesheets with Bootstrap, so you can extend the framework and customise your website. If you missed Part 2, you can find it here. Today, we will build on our existing knowledge acquired from using external stylesheets to build a custom fixed header bar.
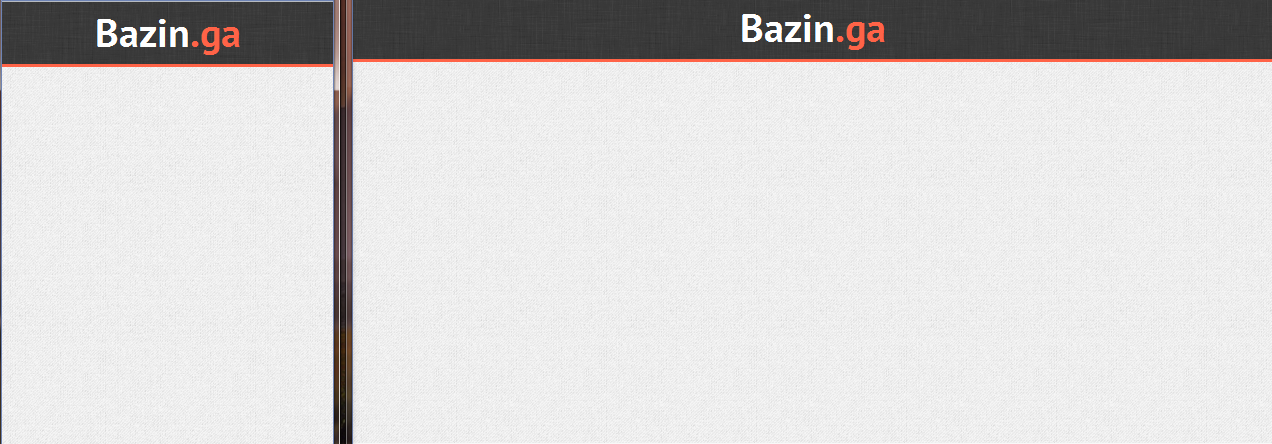
Before we proceed with the tutorial, you might be interested to see the final product. Here’s how it looks like. (Bazinga! Hope you know where that came from. I was actually watching the Big Bang Theory while writing this tutorial).
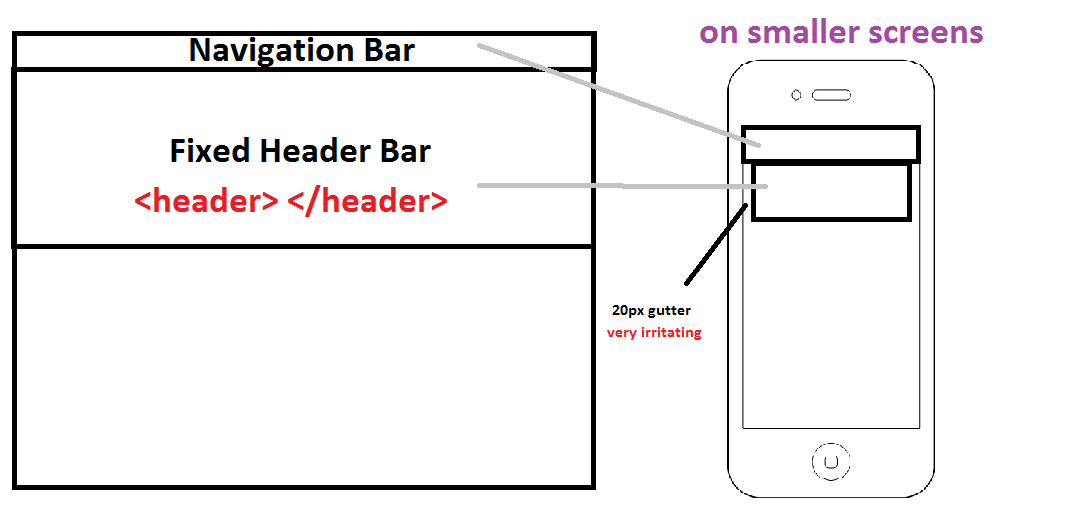
A fixed header bar uses the <header> HTML element tag and with Bootstrap, pre-customisation, looks something like this below.
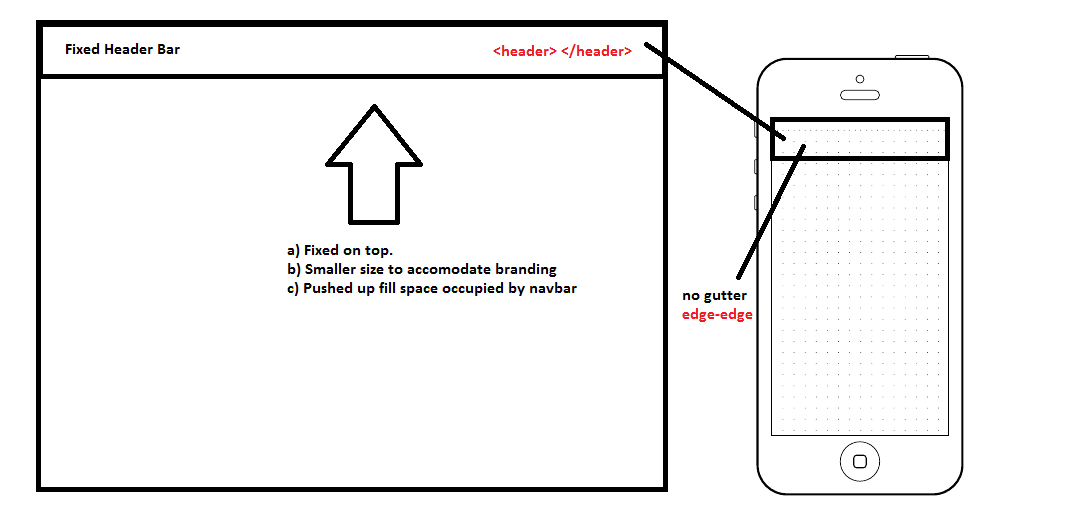
However, we want something like this.
Awesome isn’t it? The drawings made things so clear and concise. So now, lets talk some HTML and CSS.
The HTML
<header class="decorated">
  <div class="container">
   <h1 class="web-font"><a href="#"> Bazin<span class="am_class">.ga</span> </a></h1>
  </div>
</header>
The CSS
 body {
      background-image:url('../img/gray_jean.png');
}

.web-font {
font-family: 'PT Sans', sans-serif;
color:white;
font-size:40px;
}

.decorated {
  position: relative;
  background-image:url('../img/low_contrast_linen.png');
  height:62px;
  text-align: center;
  color:lightgrey;
  margin-left: -20px;
  margin-right: -20px;
  border-bottom:3px solid tomato;

}

.am_class {
  color:tomato;
}
.decorated a {
  color:white;
  text-decoration: none;
}

.border_1 {
  border:1px solid grey;
}
About Ali Gajani
Hi. I am Ali Gajani. I started Mr. Geek in early 2012 as a result of my growing enthusiasm and passion for technology. I love sharing my knowledge and helping out the community by creating useful, engaging and compelling content. If you want to write for Mr. Geek, just PM me on my Facebook profile.


Pingback: 5 Great Twitter Bootstrap Tutorials For Bootstrap Newbies | Twitter Bootstrap Tutorials()